I know I keep mentioning this poster. Our first. Oh, the horror. The first time we tried to screen print a poster it was a whirlwind of trouble. One weekend of pure hell. If this project didn’t make us give up, nothing will. But I will explain all of the problems that we had and maybe that will help if you run into problems.
Before Freddy and I started screen printing, I had designed some posters and had them printed by several different screen printers, all of whom did a wonderful job. But it was time to do our own. We started small. Our first poster was 12” x 18” and 2 colors.
It started out just fine. I took some photos of Freddy posing with a skull I had laying around the house and did the sketch, inked it and did the separations, planning on a simple 2 color poster in classic red and black. Freddy got the poster press built and ready in time for the weekend printing session. We had the screens made for us at Standard Screen in Manhattan since we weren’t experienced at burning screens yet.
The posters I had drawn before were silk screened by other people and I had always done the separations myself. I was very sure to make the posters pretty easy to screen and give the screen printers good separations. But on this one, I got lost in the creative process and created a bit of a difficult registration issue. I did something that is generally not a good idea and had 2 colors need to line up precisely to look right. Below is an example of what I mean. The top picture is the black screen out of register and the bottom picture shows it correctly in register.
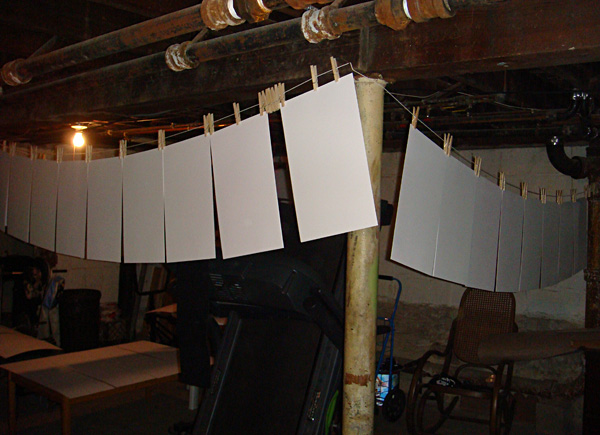
The press Freddy built is capable of very accurate registration... when it is working right. Anyway, I had done all of the research on printing posters so we began, thinking we knew what we were doing. We hung the paper up in the basement overnight to let it acclimate so that it wouldn’t change shape on us as it absorbed the humidity or changed temperature.
We started on our adventure. We ran into trouble almost right away. We could not get a good print out of the red screen. Below are some examples of the problems we had.
Here the ink squeezed out under the screen. And perhaps you can see that the texture of the ink is blotchy, not smooth like it should be. The ink we were using was too thick and needed to be thinned, but we did not know. We used the Speedball acrylic ink right out of the jar. Freddy had to press so hard to get it through the screen that it bled under the masked areas. And it was so sticky that it stuck the screen down to the paper and didn’t pop back up like it should even though we increased the off-contact (or space between the screen and the paper). Now we know that it may have been possible that the ink was spreading out under the stencil like that BECAUSE we increased the off-contact. Sigh.
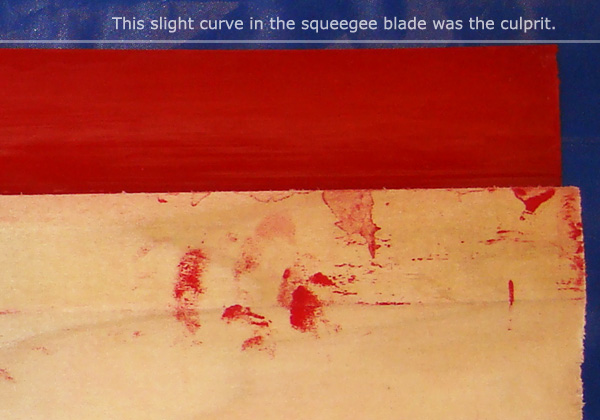
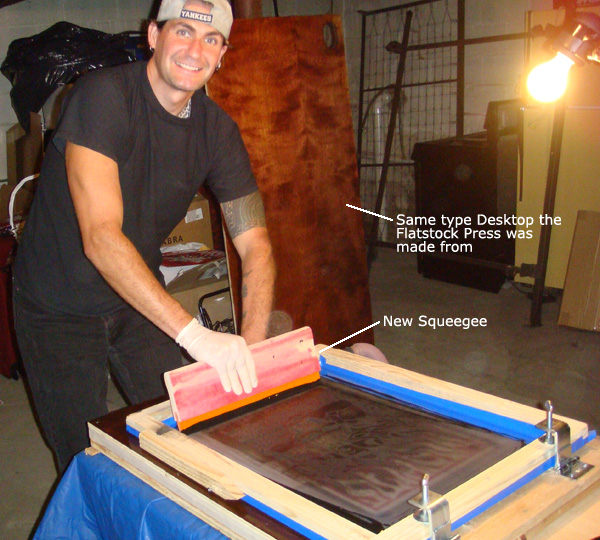
We also had problems with the ink not going on evenly and skipping some areas. Usually the same areas. We would later discover that we had a bad squeegee.
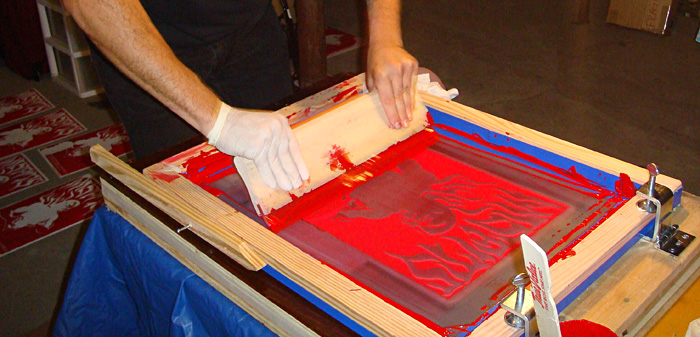
Here’s an action shot at our low point with the bad squeegee, bad ink and bad hinge clamps.
We tried to clean the screen out on the press after it would squeeze out like that, but it didn’t work. We would have to take the screen off and go wash it up and wait for it to dry. During one of these breaks, we re-watched a Speedball DVD we had and realized that perhaps the ink was too thick. So we thinned the ink to the consistency we had seen on the DVD and tried again. It was still hard and we ruined a lot of paper, but we finally got 60 good prints. It seemed like it took forever.
Once the red prints dried, we started trying to print the black screen. It was going worse than ever and now we were ruining some of the red prints we had screened. About that time, while we were cleaning up the screen for another try, Freddy noticed that the squeegee wasn’t straight. It had a slight curve on one end. That was one problem. He also felt like the black ink was too thinned out. So we found another squeegee and I mixed another batch of ink, thicker this time and we started again.
Everything was going wonderfully... until we noticed the black was going out of register. It wasn’t lining up and it was different on every print! We found the problem – the hinge clamps weren’t holding the screen tightly and it was slipping around. No matter how we tightened them with pliers and even vice grips, they would still loosen up.
So we took the Staten Island train to the Staten Island Ferry to (oh god why did I move to Staten island? Oh yeah, a house & basement.) Manhattan and then took the subway to the art supply store to buy the good hinge clamps that we should have bought in the first place. Sigh. But we hadn’t known. Buy Jiffy Clamps. Trust me on this. Here’s a picture. The Jiffy clamps and a discarded old, bad clamp.
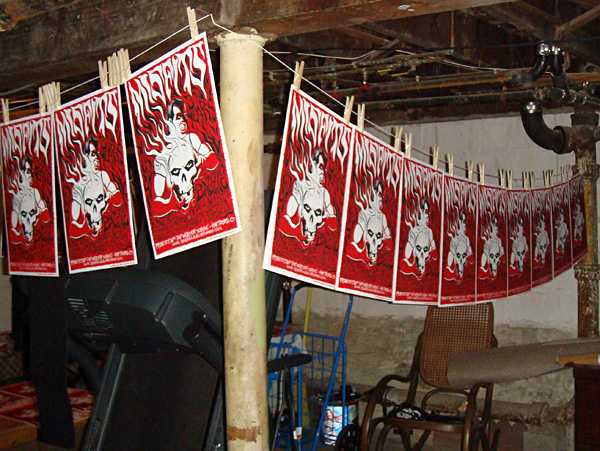
We mounted the new Jiffy Clamps and screened the rest of the black. At that point we were amazed at how easy it was. We finished screening the posters and they came out beautifully. We even managed to print my tricky registration with very little trouble at that point.
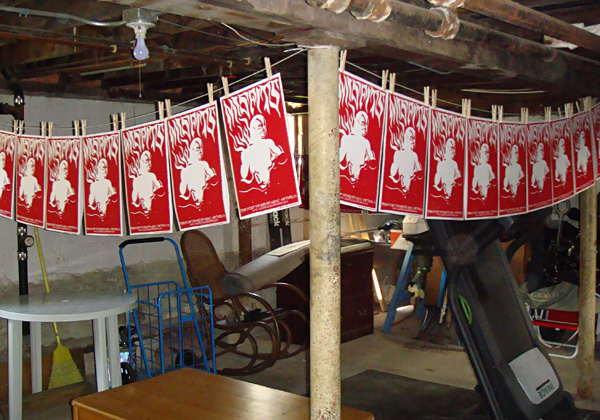
We finished up and hung the prints to dry. We celebrated our victory by watching a silly horror movie... somehow fitting.
Rawk!







I want to thank you for posting this and putting so much info on your blog. I'm about to pull my first poster as soon as the paper shows up.
ReplyDeleteLike you, I've researched like mad, asked the artists I admire some questions and watched more hours screen printing in youtube videos than I care to admit.
I know it'll be a learning process when I start the hands on work - but I'm excited and I know all the info on sites like yours are just as good as having a friend in the industry. Thanks again!
I am currently looking for hinge clamp but i ca't find it in any local store near my place. Do you happen to know how to make a DIY hinge clamp? thanks
ReplyDeleteYou could order some Jiffy Clamps from an online store:
Deletehttp://www.victoryfactory.com/tools.htm#hinge_clamps
http://www.screenprintingsupplies.com/Equipment_Jiffy-Clamps.htm
I really like all of them, I must say that you did your job well. Poster printing is my one of the favorite activity, whenever I got time I just make that with full of enthusiasm. So this will be great, if you share few more printing posters.
ReplyDelete